
SEO Basics: GenUp Digital Website Builder
Hi, I’m Gavin from GenUp Digital. And in this video, I’m going to show you how to optimize the SEO on your website, on your gen up digital website builder.
Step 1: Choose a website template
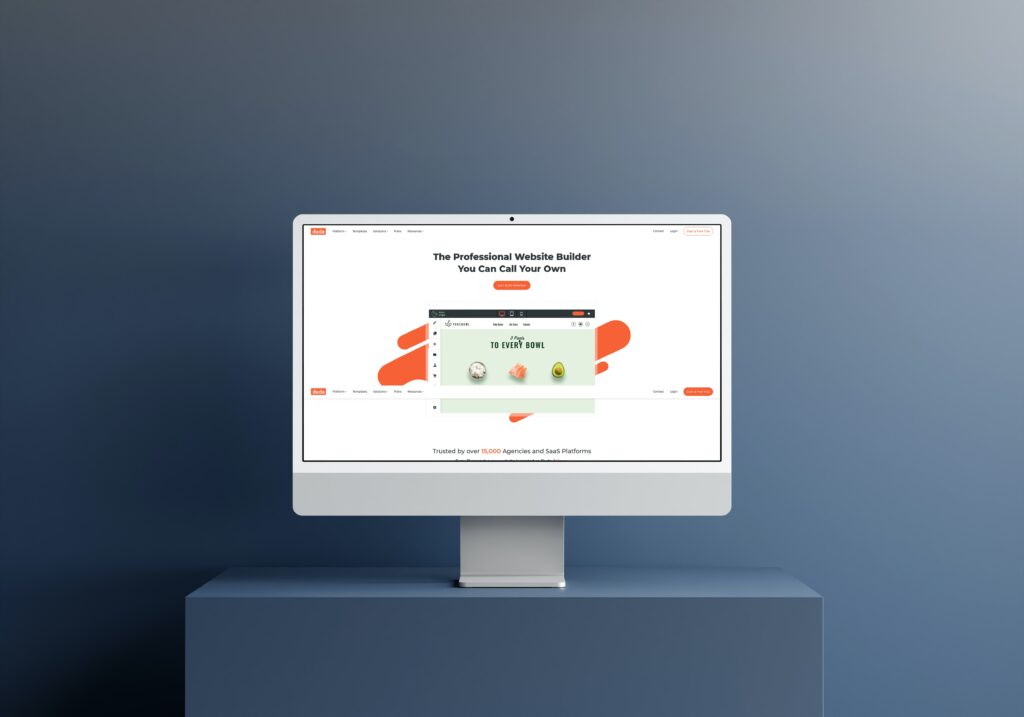
First thing you need to do is head over to up digital.com, select a template and sign up for an account.
Once you’ve logged into your account, you’ll have a website which looks something like this. Your have a number of different options for setting up the SEO and optimizing the SEO for your homepage and for individual pages.
Step 2: Edit Website SEO
So the first thing you’re going to need to do is head over to settings on the left-hand side, click on settings, and you’ll see an option here for S E O.
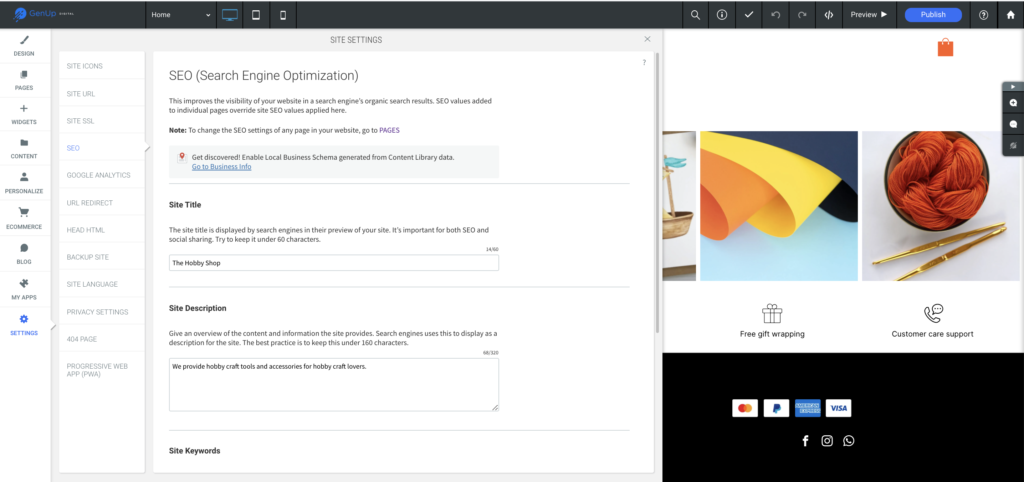
If we click on that, it asks us to enter the site title description and site keywords. The site title and description are the information that will be displayed when somebody searches for your website or your website is displayed in the Google search engine rankings.
So make sure you have this filled out. Otherwise when your website URL appears, it will have blank information underneath, and it won’t provide the user with anything useful to work from the site, key words or the key words or phrases that you want your website to appear for when someone is searching in Google or another search engine, like being.
So make sure you enter in keywords for which you want to appear for on your website. So this page here specifically refers to your website and not an individual page.
Step 3: Connect Google Analytics
You can also connect your website to Google analytics. If you head over to Google analytics and set up a free account, you can connect your Google analytics page to your website, and you can use that for tracking all of the data, all of the traffic that comes to your website, it’s a really useful tool.
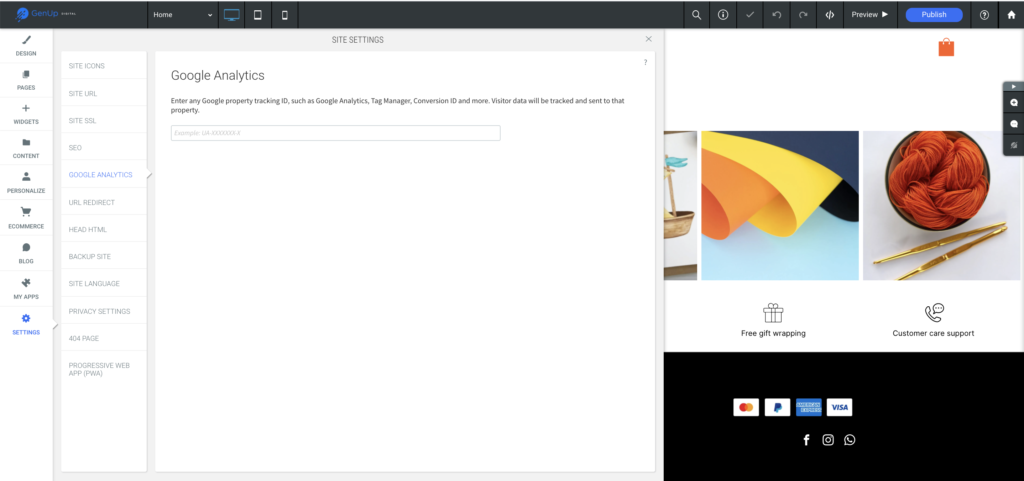
So I suggest you do that and add your tracking code in here. Once you’ve done that, you can close this and head over to content and then business info business information section is going to allow you to add information about your business.
Step 4: Add Business Information
When you add information about your business, such as the name and address, phone number, email, social icons, et cetera, it allows you to upload that information to Google my business, which means you will appear in search engine in, um, search is for those people particular terms.
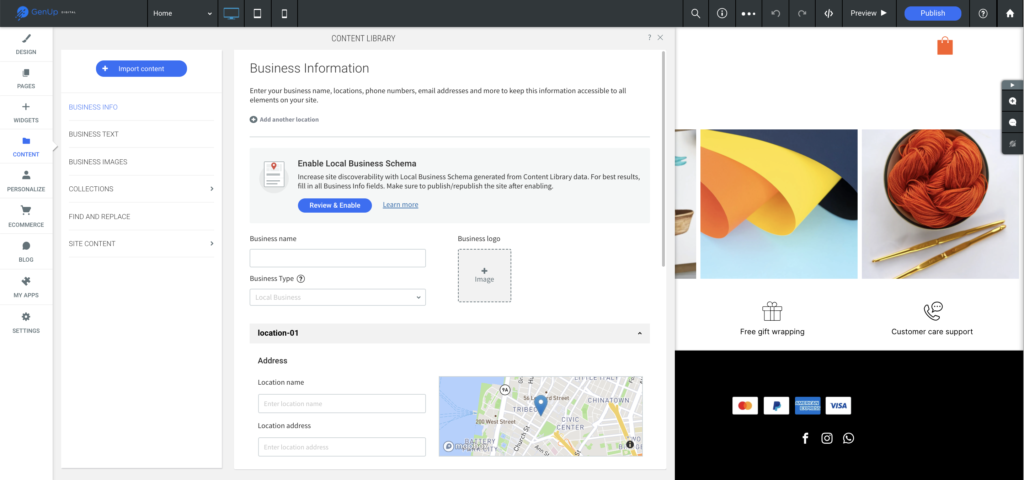
So you can click on here review and enable, and when you do so, it tells you the bits that you’re missing your ID and which pieces of information need to be filled in about your business.
Once you’ve completed that list, you can validate the information with Google and then enable that schema. What that means is that your website has this information associated with it.
And when your searched for you will appear in the Google, Google listings. So complete all of these fields, as many pieces of information as you can, and don’t forget to upload your business logo.
Step 5: Edit page SEO
The next thing to do is go to pages. Now, what we can do on pages is change the SEO for each specific page.
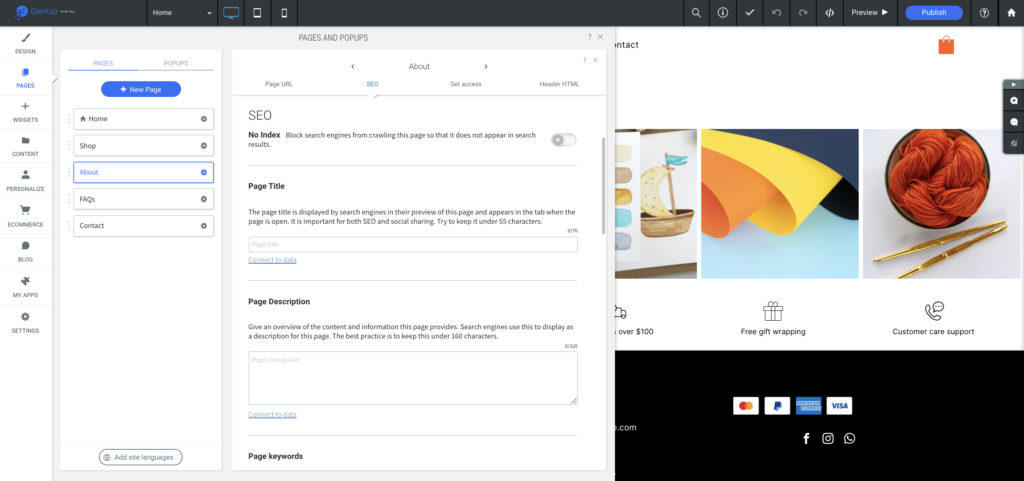
So for example, here, if we hover over home and then click on the cog and then come down to SEO, we can edit the SEO for this specific page, just for the homepage.
Or we could edit the SEO for the shop page or the about, or the FAQ’s or contact page. Or if you were to add a new page again, you could edit the SEO and you might be thinking, well, why is that important?
Well, each page that gets searched for in Google needs to display different information so that you can inform the user about the relevance of that particular page.
The information on shop is definitely going to be different to the information on the about page. So make sure you edit the SEO information on each section or each page.
If you’ve got a lot of pages, then it can take awhile to go through them one by one, make sure you do it.
The final thing is this header HTML section, the header is essentially part of the website, which contains information on every single page.
You can use some tracking tools and pixels to monitor how often people use your website. For example, you could use the Facebook tracking pixel, which identifies when people visit your website and when they visit Facebook and you often need to enter that tracking code into the header of the website, you might want to add it to an individual page, or you might want to add it to the website in general, if you’re going to add it to individual pages, this is the section that you’re going to be doing that on.
So select a specific page at the tracking code, the HTML JavaScript into here, and then hit the save button. The final thing that you can do to work on the SEO for your website is use an app.
Step 6: Connect to Google Search Console
If you come down here to my apps, And scroll down, you will see there is an app called search console.
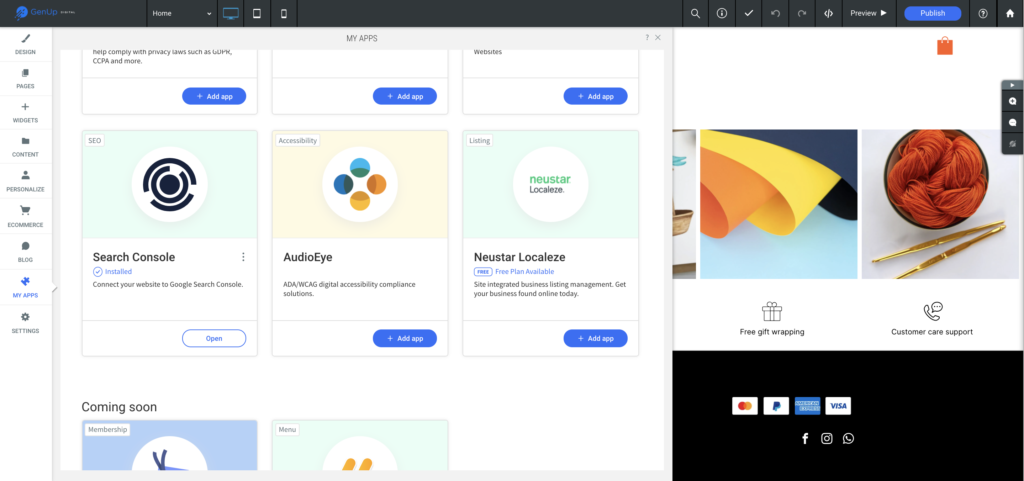
Search console is referring to Google search console, and it works hand in hand with Google analytics, Google search console, collect data about the kind of search terms people are using to try and find your, the kind of pages that are getting the most traffic and lots of useful information about how your website is being tracked and displayed and searched for.
It’s also a great way of finding out the common search terms that your pages are appearing for. So you can then write content and blog posts and additional pages on your website so that your pages will appear more frequently.
So you’re going to need to have a Google account signing with Google confirm the domain name is correct, and then publish.
And what this will do is connect your Google search console account to your website so that the data is shared between the so just to reiterate, the first thing you need to do is go to settings SEO and enter your website, SEO, connect up your Google analytics account, and then head over to contact then business info and add your business info details so that the schema appears for your Google.
My business listing. Finally, head over to pages, edit the SEO for each page individually and make sure you save that information.
Last option. If you want to is to connect your search console with the search console app within the website. Once you have connected all of those up, you will be able to start tracking search terms for your website and adding more and more content to get more and more traffic to your website.


Responses