
How to Add a Favicon to Your WordPress Website
What is a Favicon and Why Do I Need One?
Favicons need to be as small as 16px x 16px (pixels) yet still clearly display your identity. If you don’t have a favicon then users visiting your website will see a grey/black globe icon on the browser tab instead.
A favicon is used by website users to identify your brand amongst others helping with your brand placement and improving overall user experience.

In this article, we’ll discuss three different tools you can use to generate a favicon and how to upload the favicon to your WordPress website. Let’s go!
How to Create a Favicon for a WordPress Website
Most businesses will use their logo as their favicon but if you need to create one from scratch then keep on reading.
Modern browsers allow you to use PNG, JPEG, and GIF files for your favicon. However, if you are using internet explorer you may need to do some testing as not all versions of IE except those file types.
If you are adept at using a design tool like Photoshop or Illustrator you can crack on with a custom design. For those of us that need a helping hand, it’s easier (and quicker) to use a web-based tool to generate a favicon from an image (or even just a colour).
Below we have listed three different web-based favicon generators that you can use to quickly and conveniently create the favicon of your dreams.
Favicon Tool #1: Real Fav Icon Generator
Use Real Favicon Generator (https://realfavicongenerator.net) to create a favicon for your website.
You can use the tool to:
- Check your existing favicon
- Demo a random favicon
- Create an SVG favicon
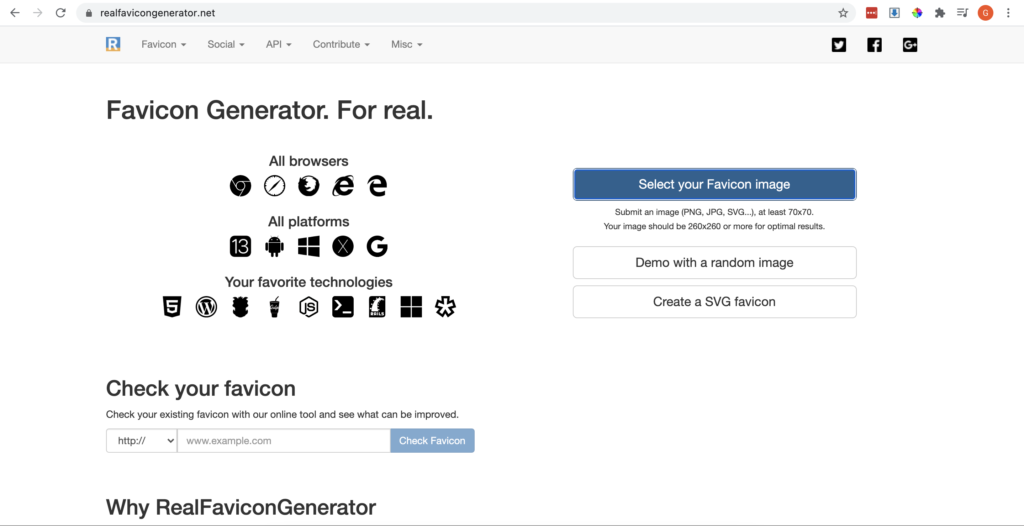
How to use Real Favicon Generator
Step: 1
Click on the “Select your favicon image ” button and upload your logo or image.
Step: 2
The next webpage will display your favicon details for each browser type and will give you options for changing the margins and background or keeping the original image.
Step 3:
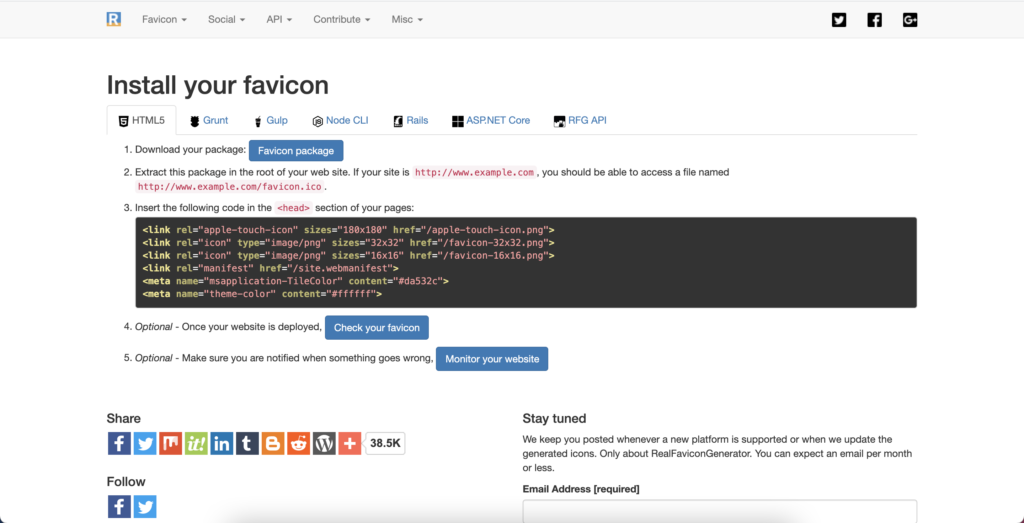
Click on “generate your favicon and HTML code” to create the code you will use to display the favicon on your website.
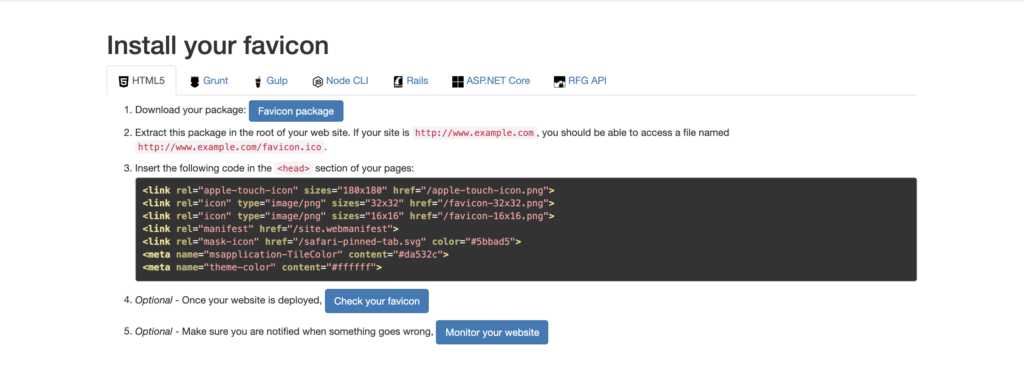
To install the code above you will need to have access to your WordPress files either via cPanel, Plesk, or SSH.
Favicon Tool #2: Favicon CC
Favicon CC (https://www.favicon.cc) is a really cool tool for creating a favicon as it allows you to actually draw your own favicon by colouring in pixels and saving the image.
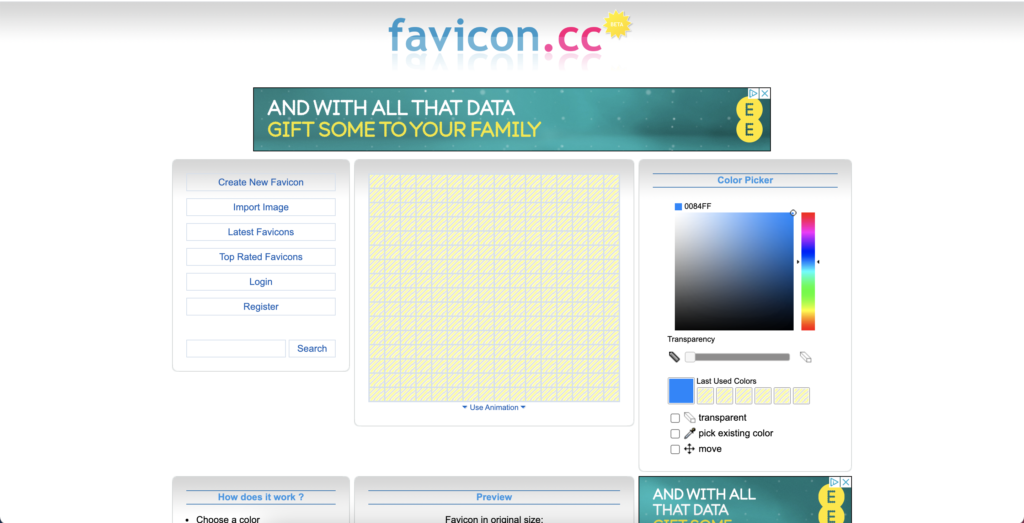
How to use Favicon CC
Step 1:
Choose a colour that you want to use to create your favicon.
Step 2:
Click on the squares and paint your logo to use as a favicon.
Step 3:
Download your logo favicon by scrolling down the page and clicking the “download favicon” button.
Step 4:
Put the favicon.ico file into your webserver directory.
Step 5:
Optionally publish it under the CC (Creative Commons) license.
Favicon Tool #3: Favicon Generator
Favicon Generator (https://www.favicon-generator.org) allows you to create favicons for the web and for apps.
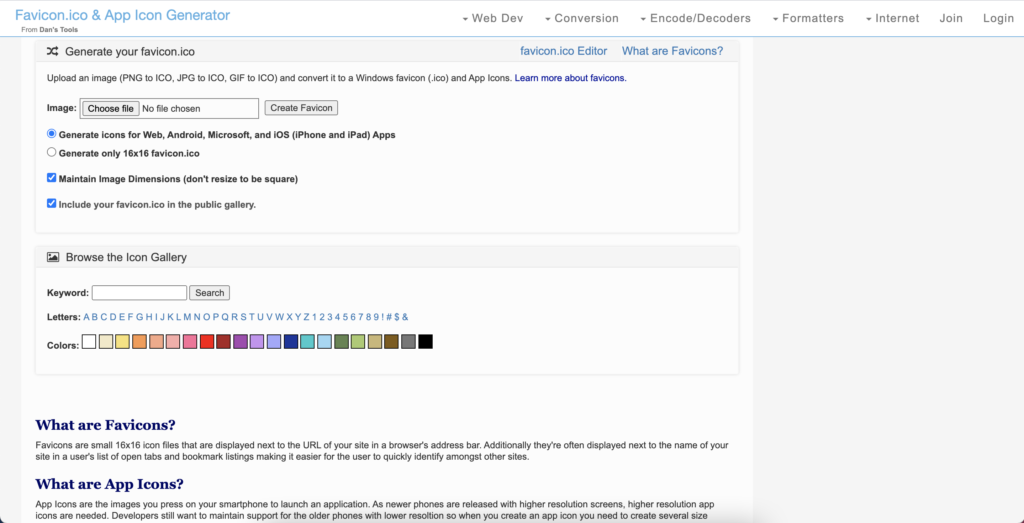
This tool allows you to create favicons for Web, Android, Microsoft, and iOS (iPhone and iPad) Apps or to select only to generate a 16px x 16px favicon.
Additionally, you can select a pre-designed favicon by choosing from a colour palette which then displays a list of favicons for you to choose from.
How to use Favicon generator
Step 1:
Upload an image you intend to use as a favicon or select a colour from the colour palette options.
Step 2:
Download your favicon file and upload it to your website.
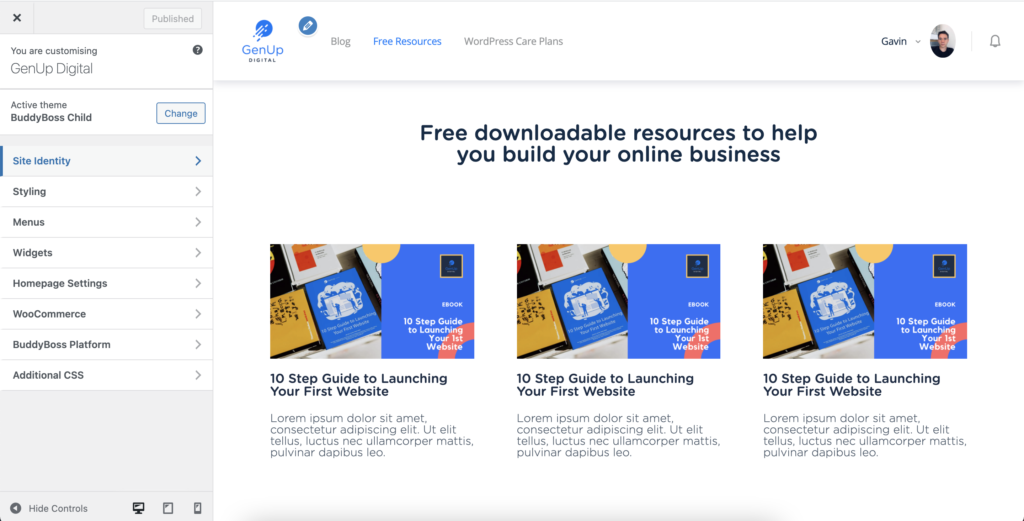
How to Upload a Favicon to Your WordPress Site: Using the WordPress Customizer
From the customise panel you need to head over to “site identity”.
Then scroll down the page and click on “select site icon”.
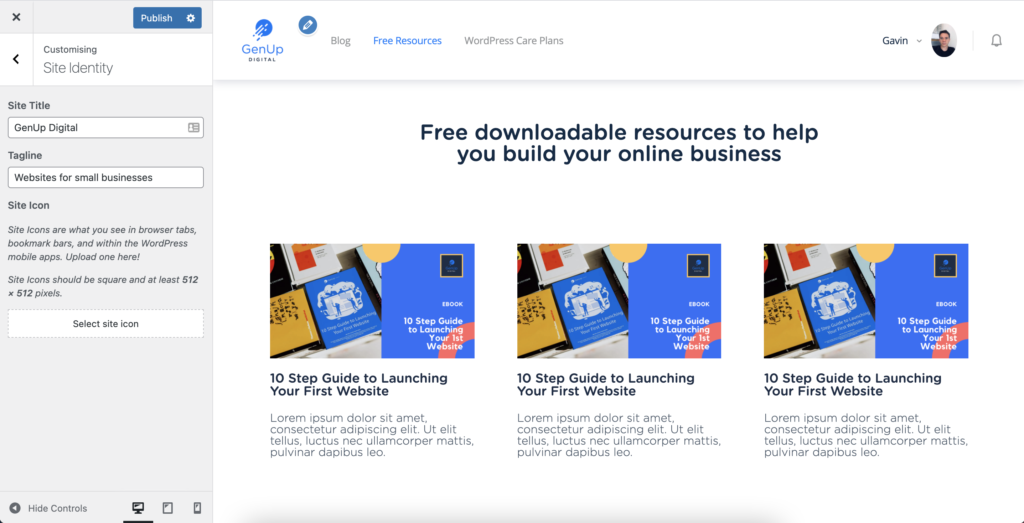
The WordPress Media Library will open up and you will be able to choose your site icon.
Remember, the icon needs to be at least 512px by 512px and you need to ensure that it still looks good when it’s as small as 16px by 16px which will be the size on smaller devices.
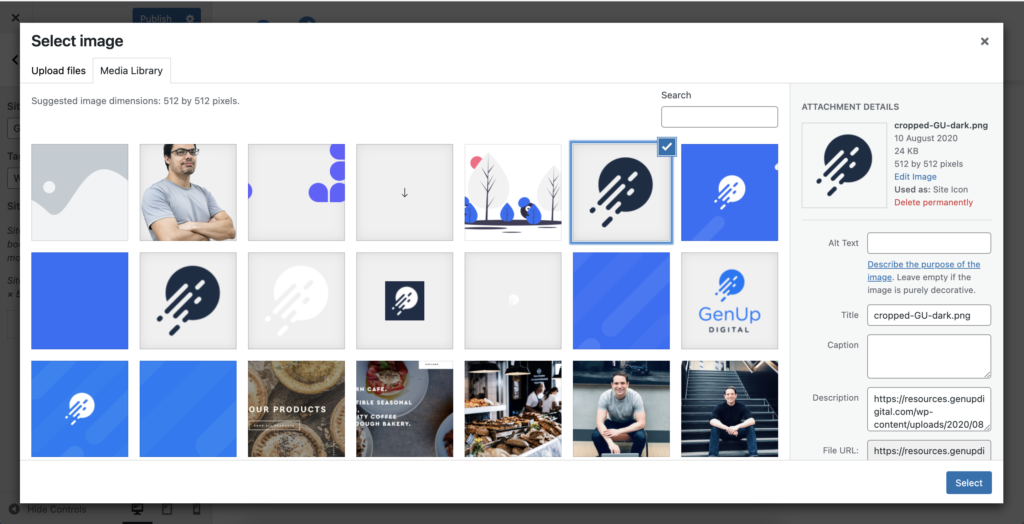
If your image is not the correct dimensions (512px by 512px) then you will be able to crop the image before saving it.
Once you are happy with the image then hit the “save and publish” button and voila! You have a favicon saved to your site.
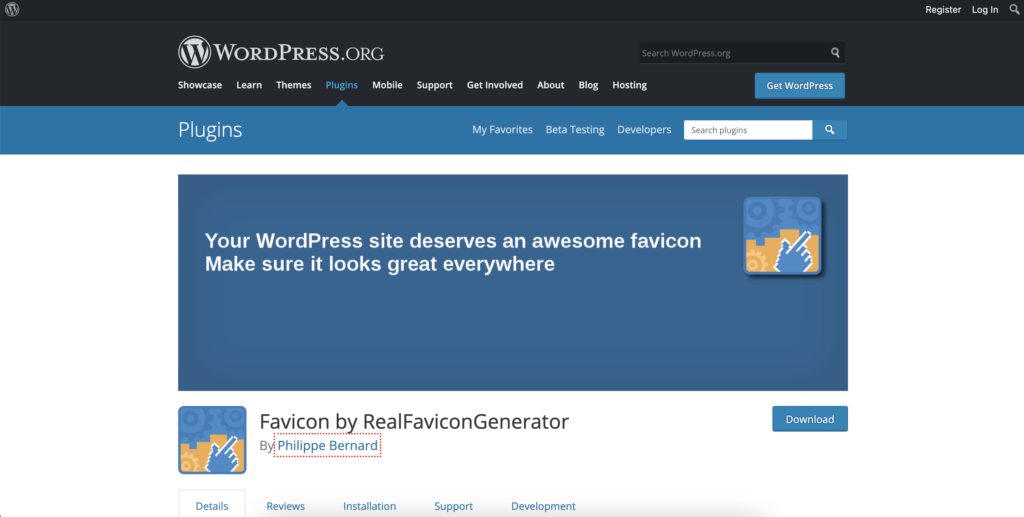
How to Upload a Favicon to Your WordPress Site: Using the RealFaviconGenerator Plugin
If you decide you want to use a plugin to upload your favicon then the Real Favicon Generator plugin gives you a few extra options for device compatibility and is very simple to use.
Start by downloading and installing the plugin in the WordPress admin dashboard.
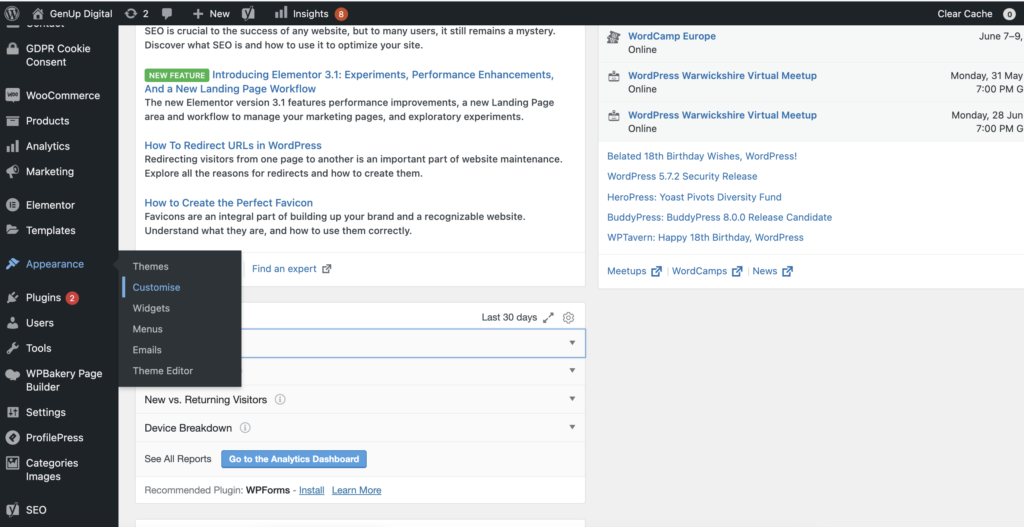
Once you have activated the plugin go to “appearance” then “favicon” to create your Favicon.

Select your media from the WordPress Media Library and create your Favicon set. You will need to ensure your image is a minimum of 70px by 70 px so that the plugin can generate the correct file size.
When you select your media file you will be directed away from WordPress and sent to the Real Favicon Generator website.

If you are happy with the results you should scroll down to the bottom of the page and click “generate your favicons and HTML code”. Upon doing so you will be redirected back to your WordPress site.
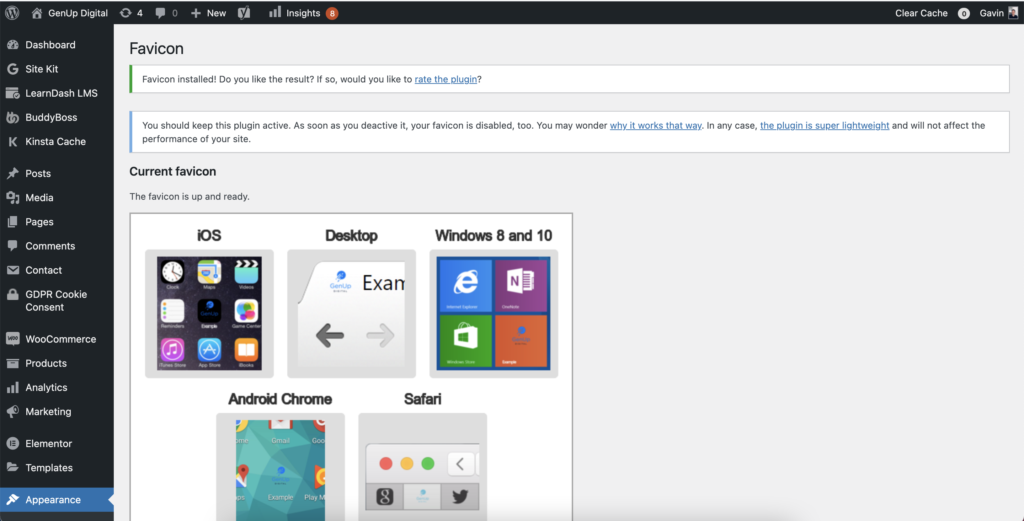
Your favicons are now installed and good to go! You can preview them on different devices using the dashboard.
How to Upload a Favicon to Your WordPress Site: Using FTP
If you are going to add your favicon the old-fashioned way (manually) then you will need to first create the favicon and then upload it via FTP or cPanel/Plesk to your main directory.
In step one of this article, we showed you how to generate the HTML for a favicon using the Real Favicon Generator.
To upload your favicon manually you are going to need to generate the favicon package as per that process.
- The first step in the process is to access your site’s files via FTP or file manager.
- You should then upload your favicon package in zip format to your root directory. The root directory is the same directory containing wp-admin and wp-content folders.

You now need to add some code to the head of your WordPress site. You can do this either by directly editing the header.php file within your file manager or you can use a plugin that gives you access to the header within the WordPress dashboard. A good plugin to help you achieve that is Insert Headers and Footers plugin.
Now select the code that you generated as part of the favicon package.
Open up the Header and Footer plugin via “settings” in the WordPress dashboard and add the code under “header”.
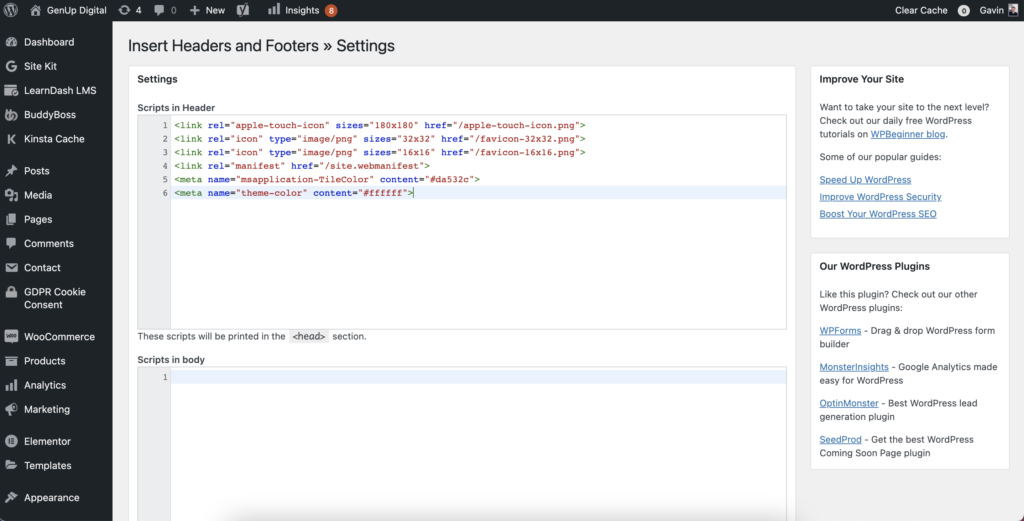
Once you have uploaded the code to the header you are good to go. Save the file and check to confirm it has worked!


Responses